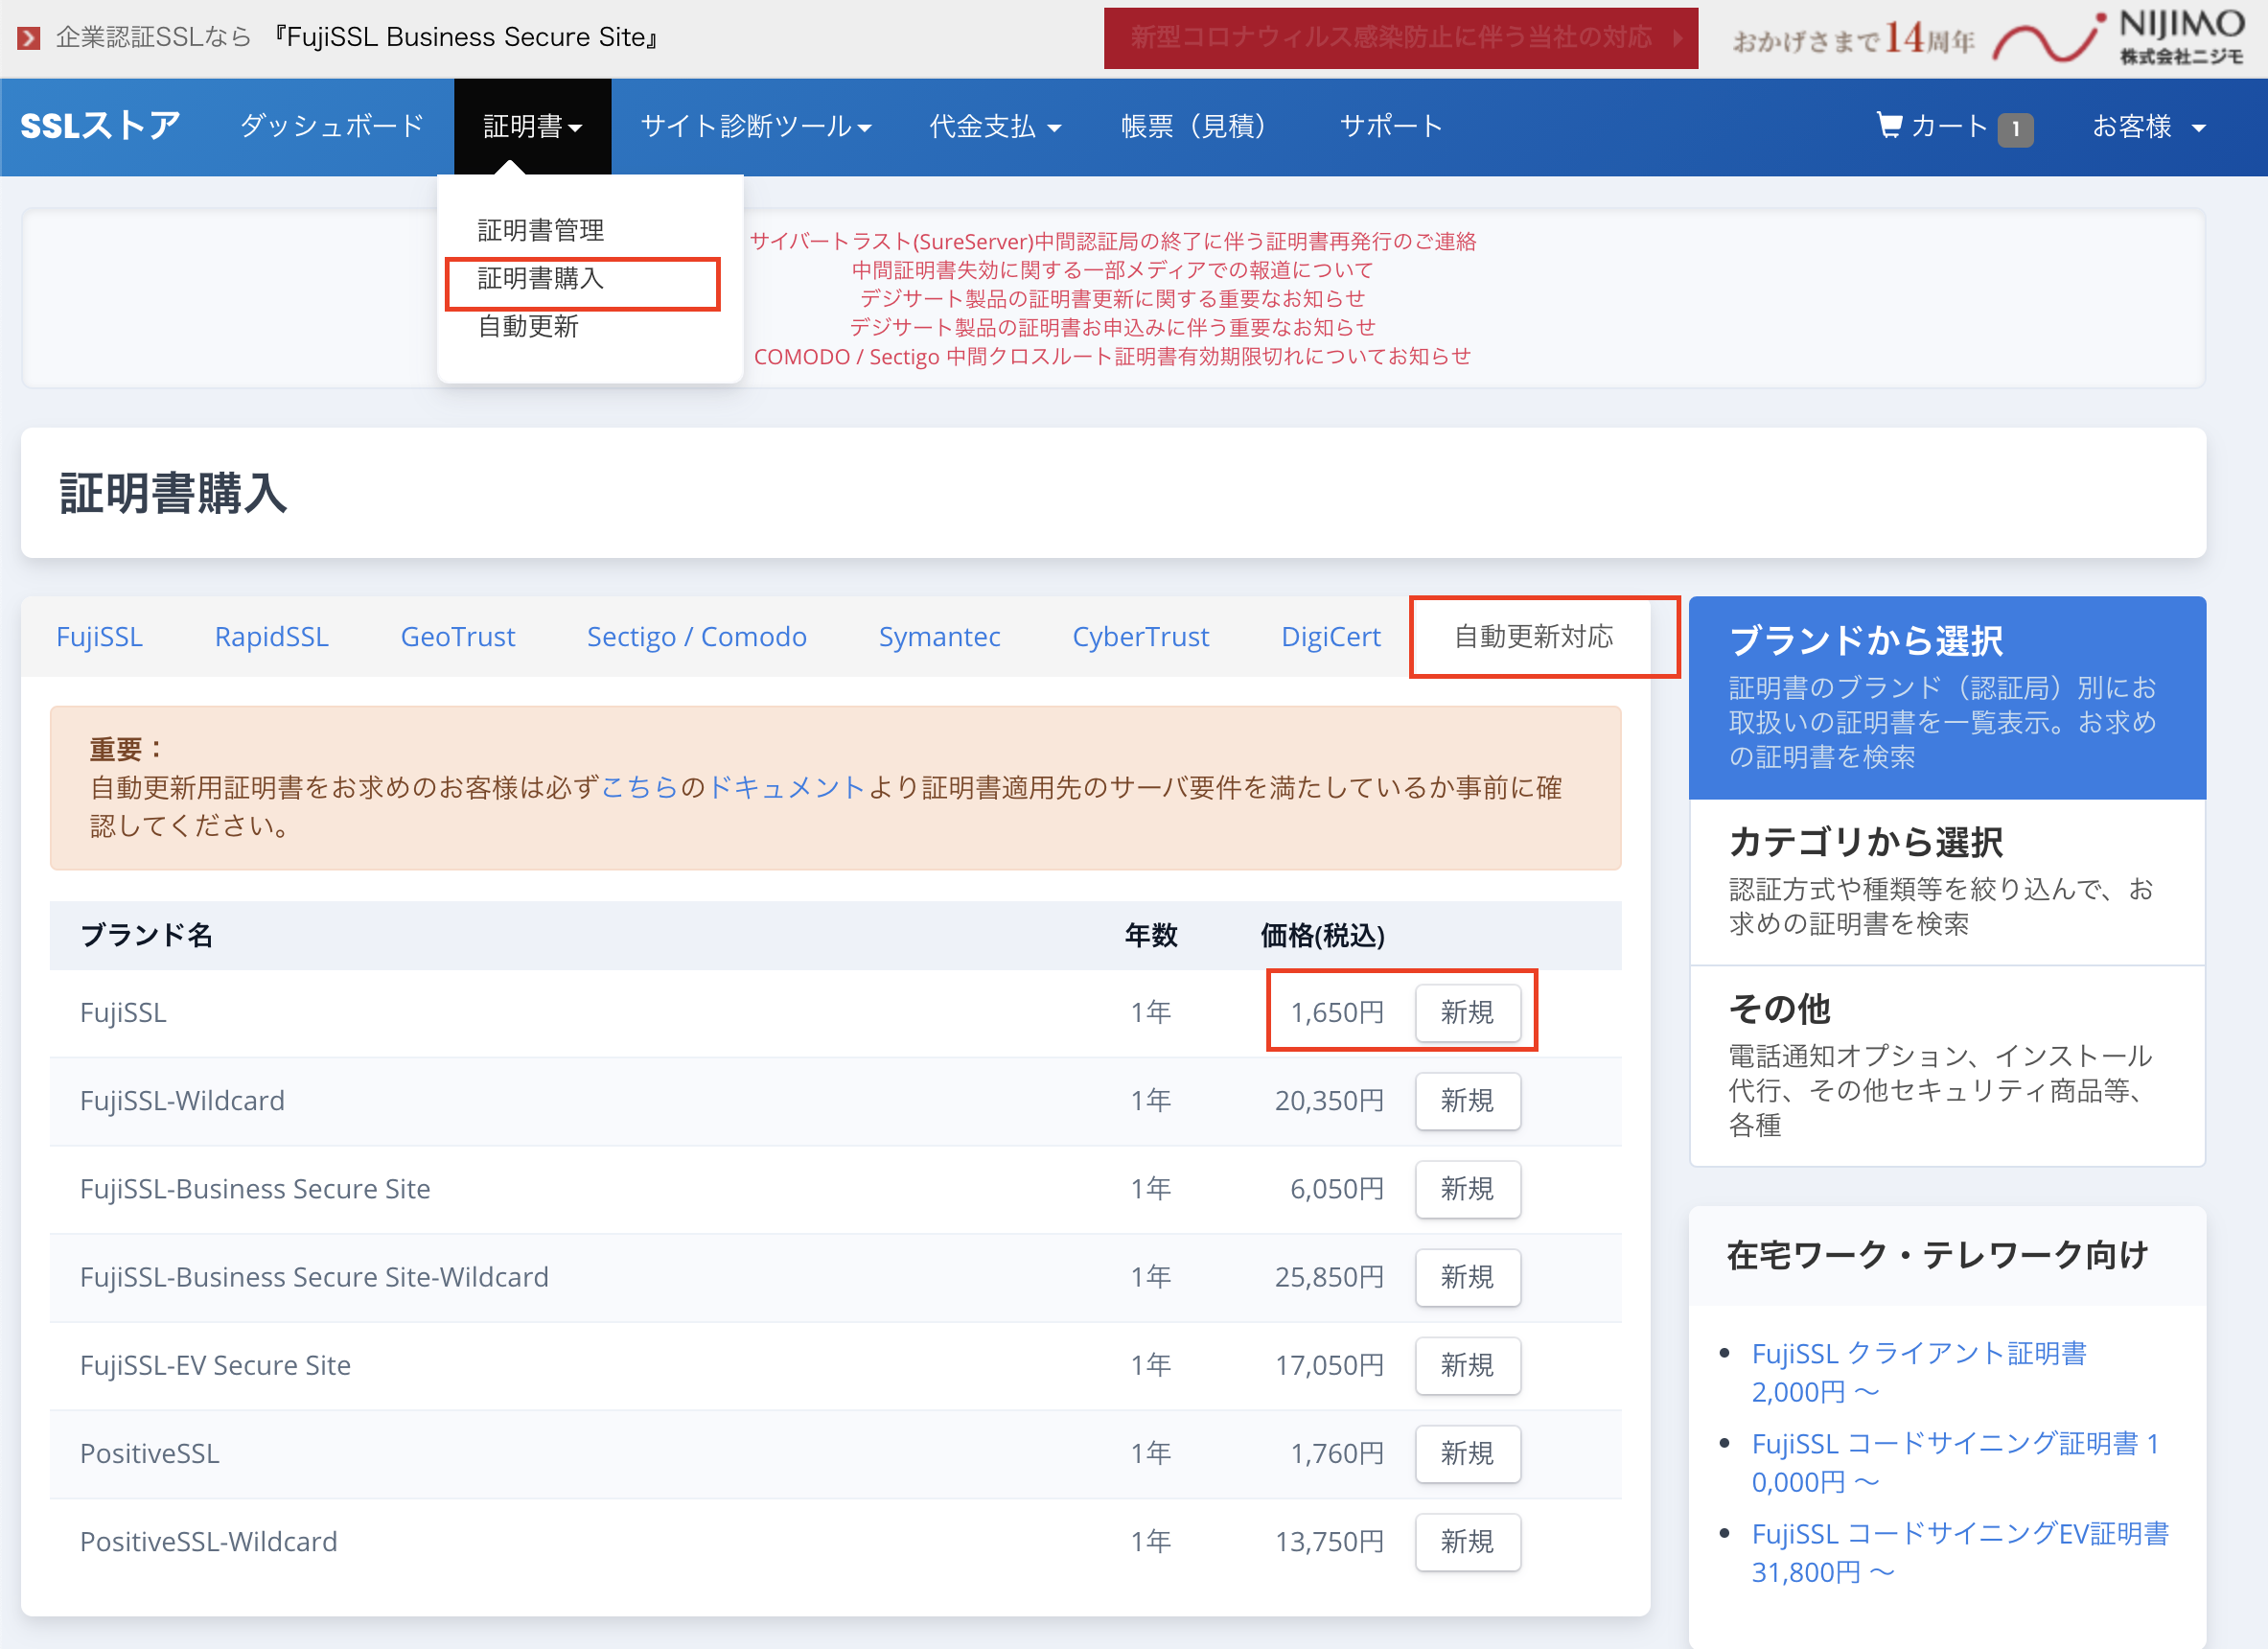
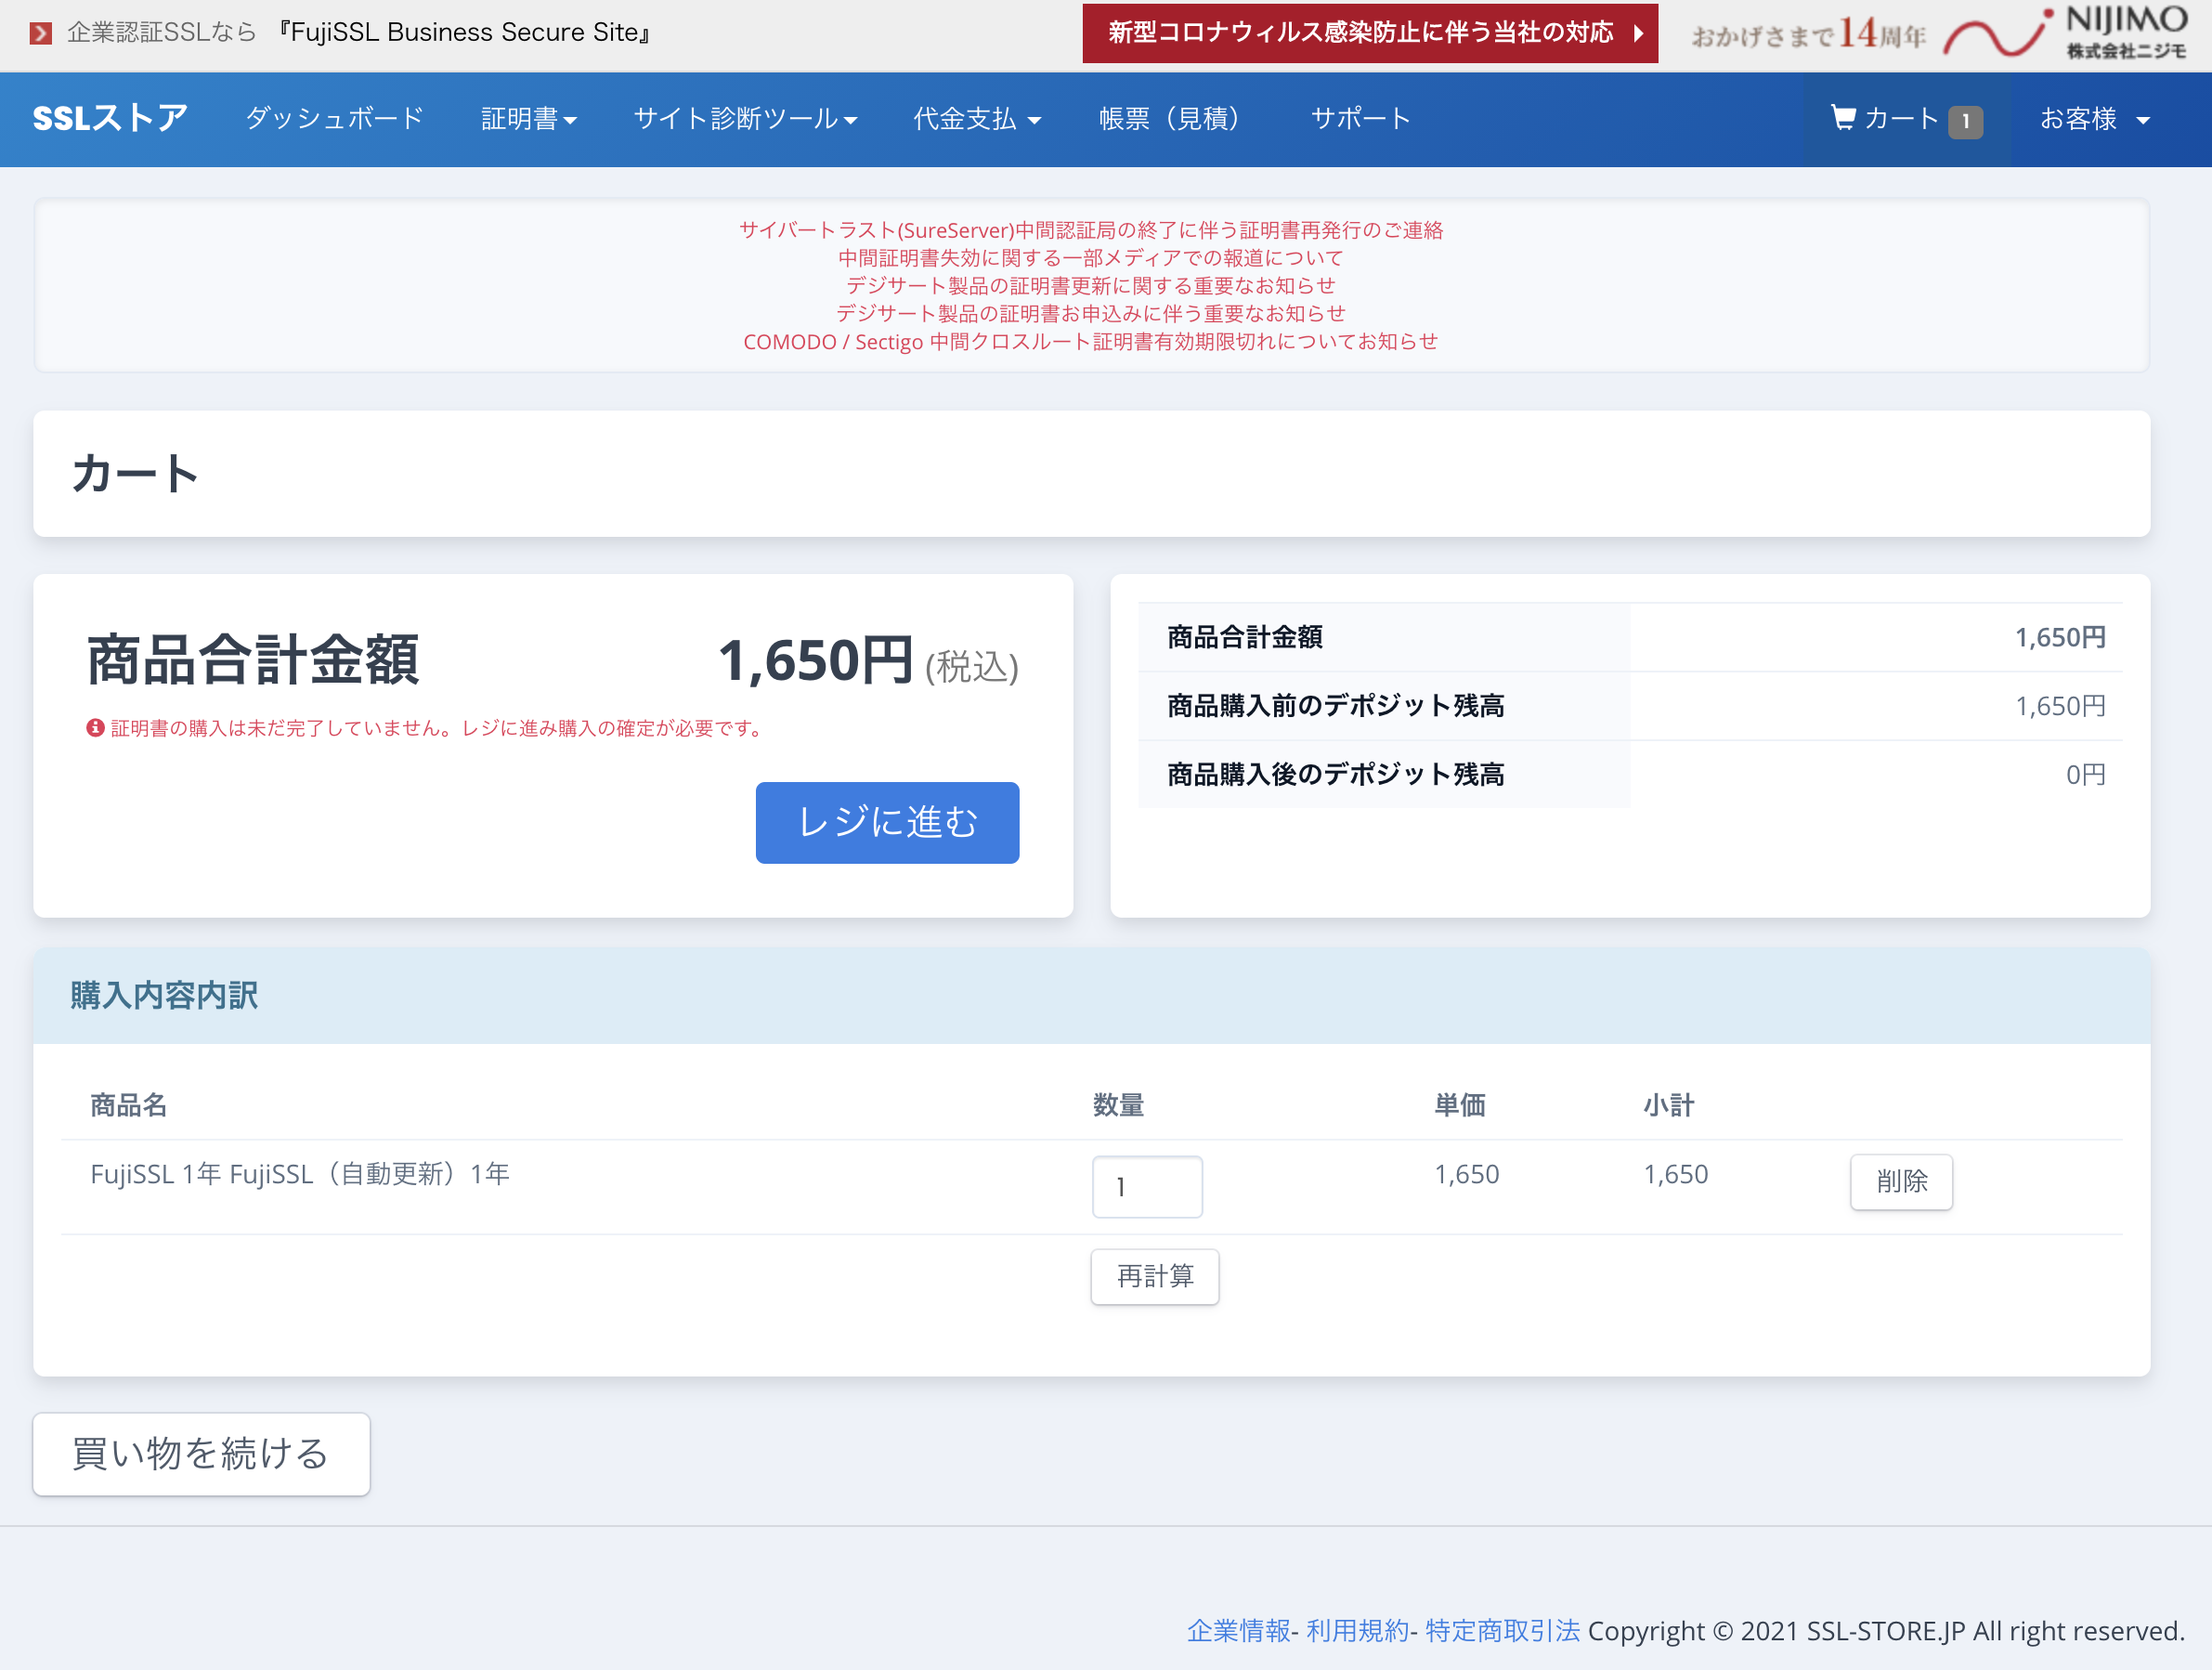
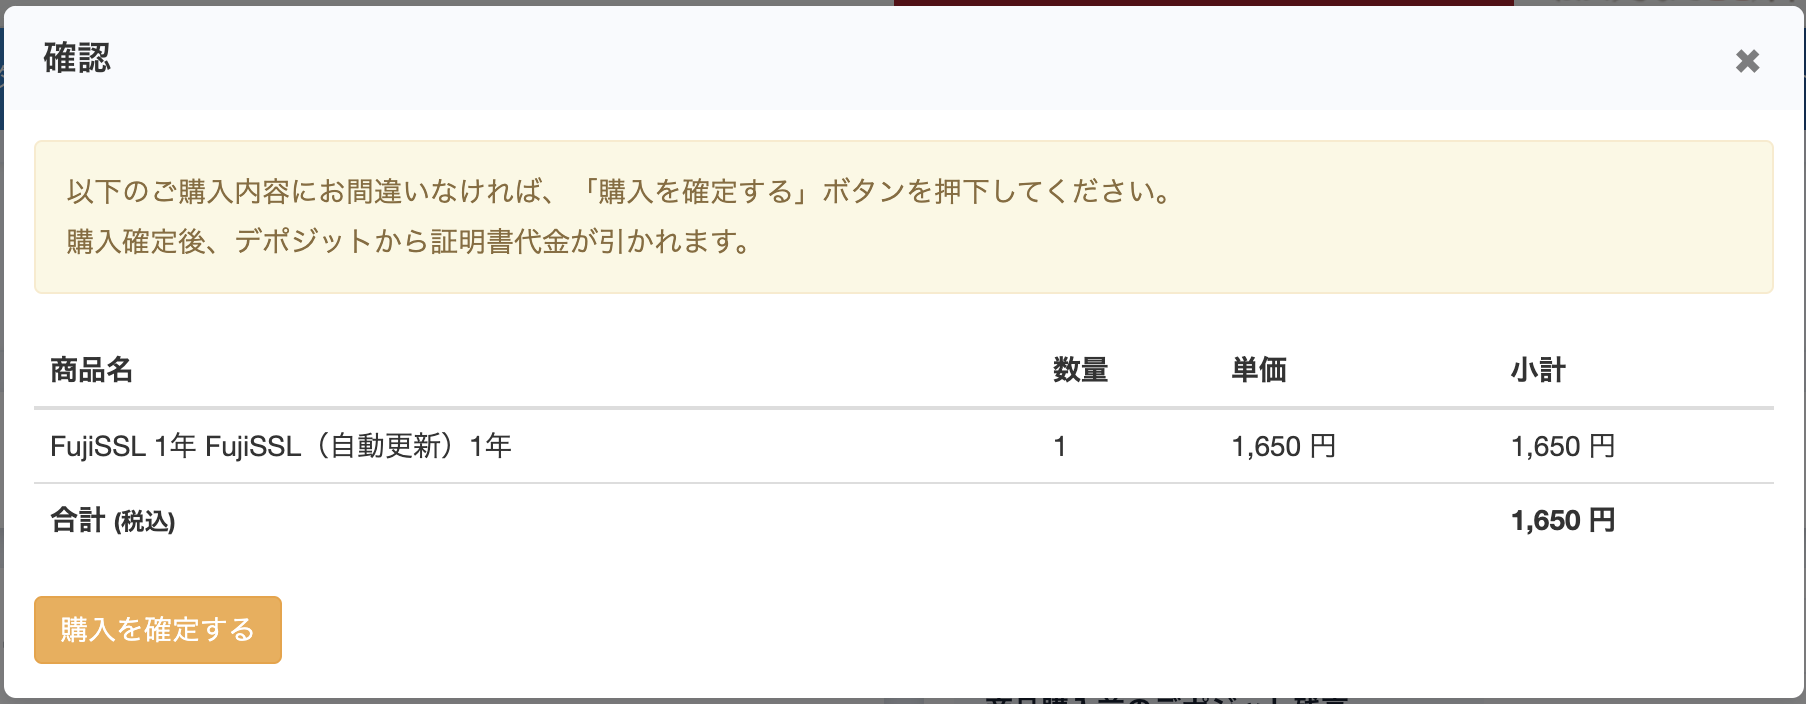
購入
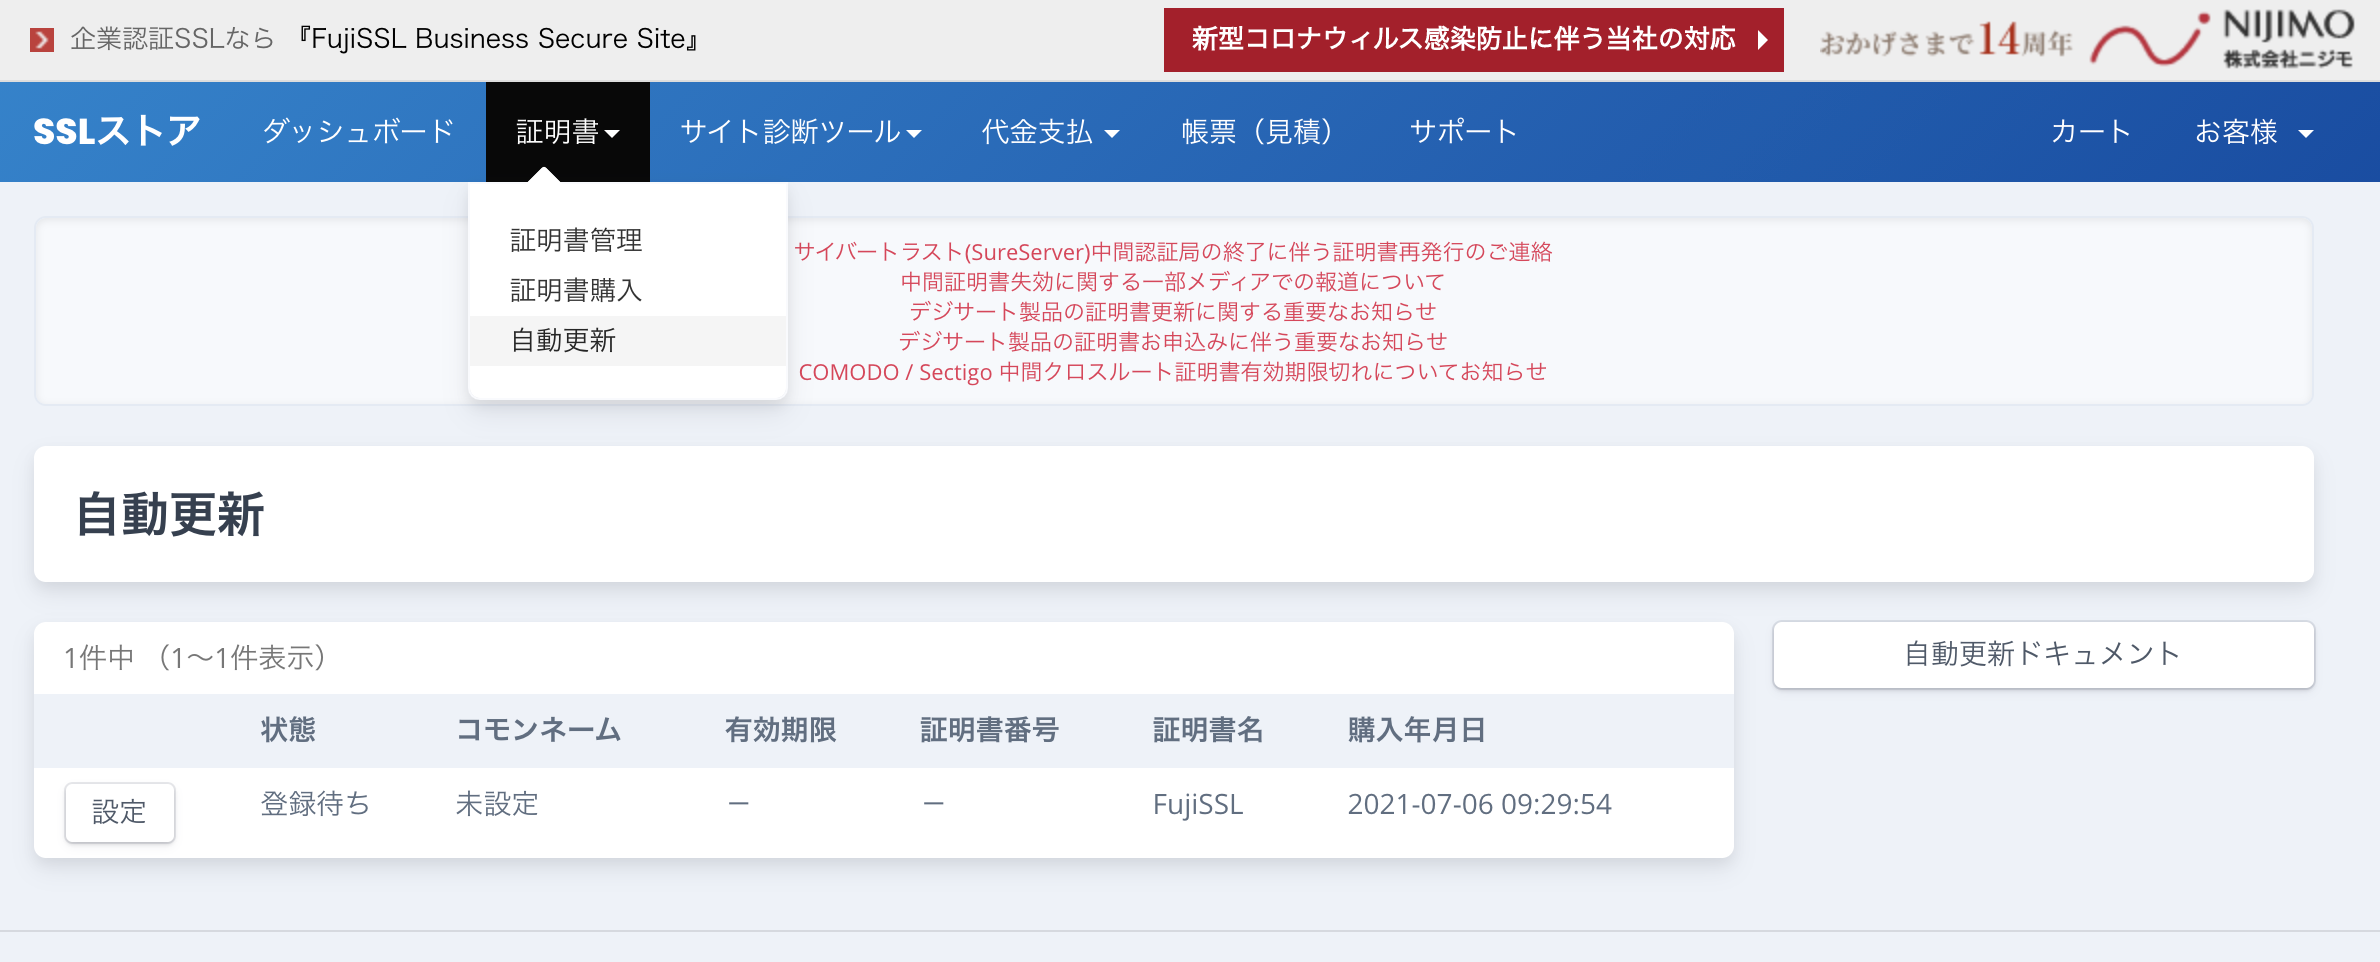
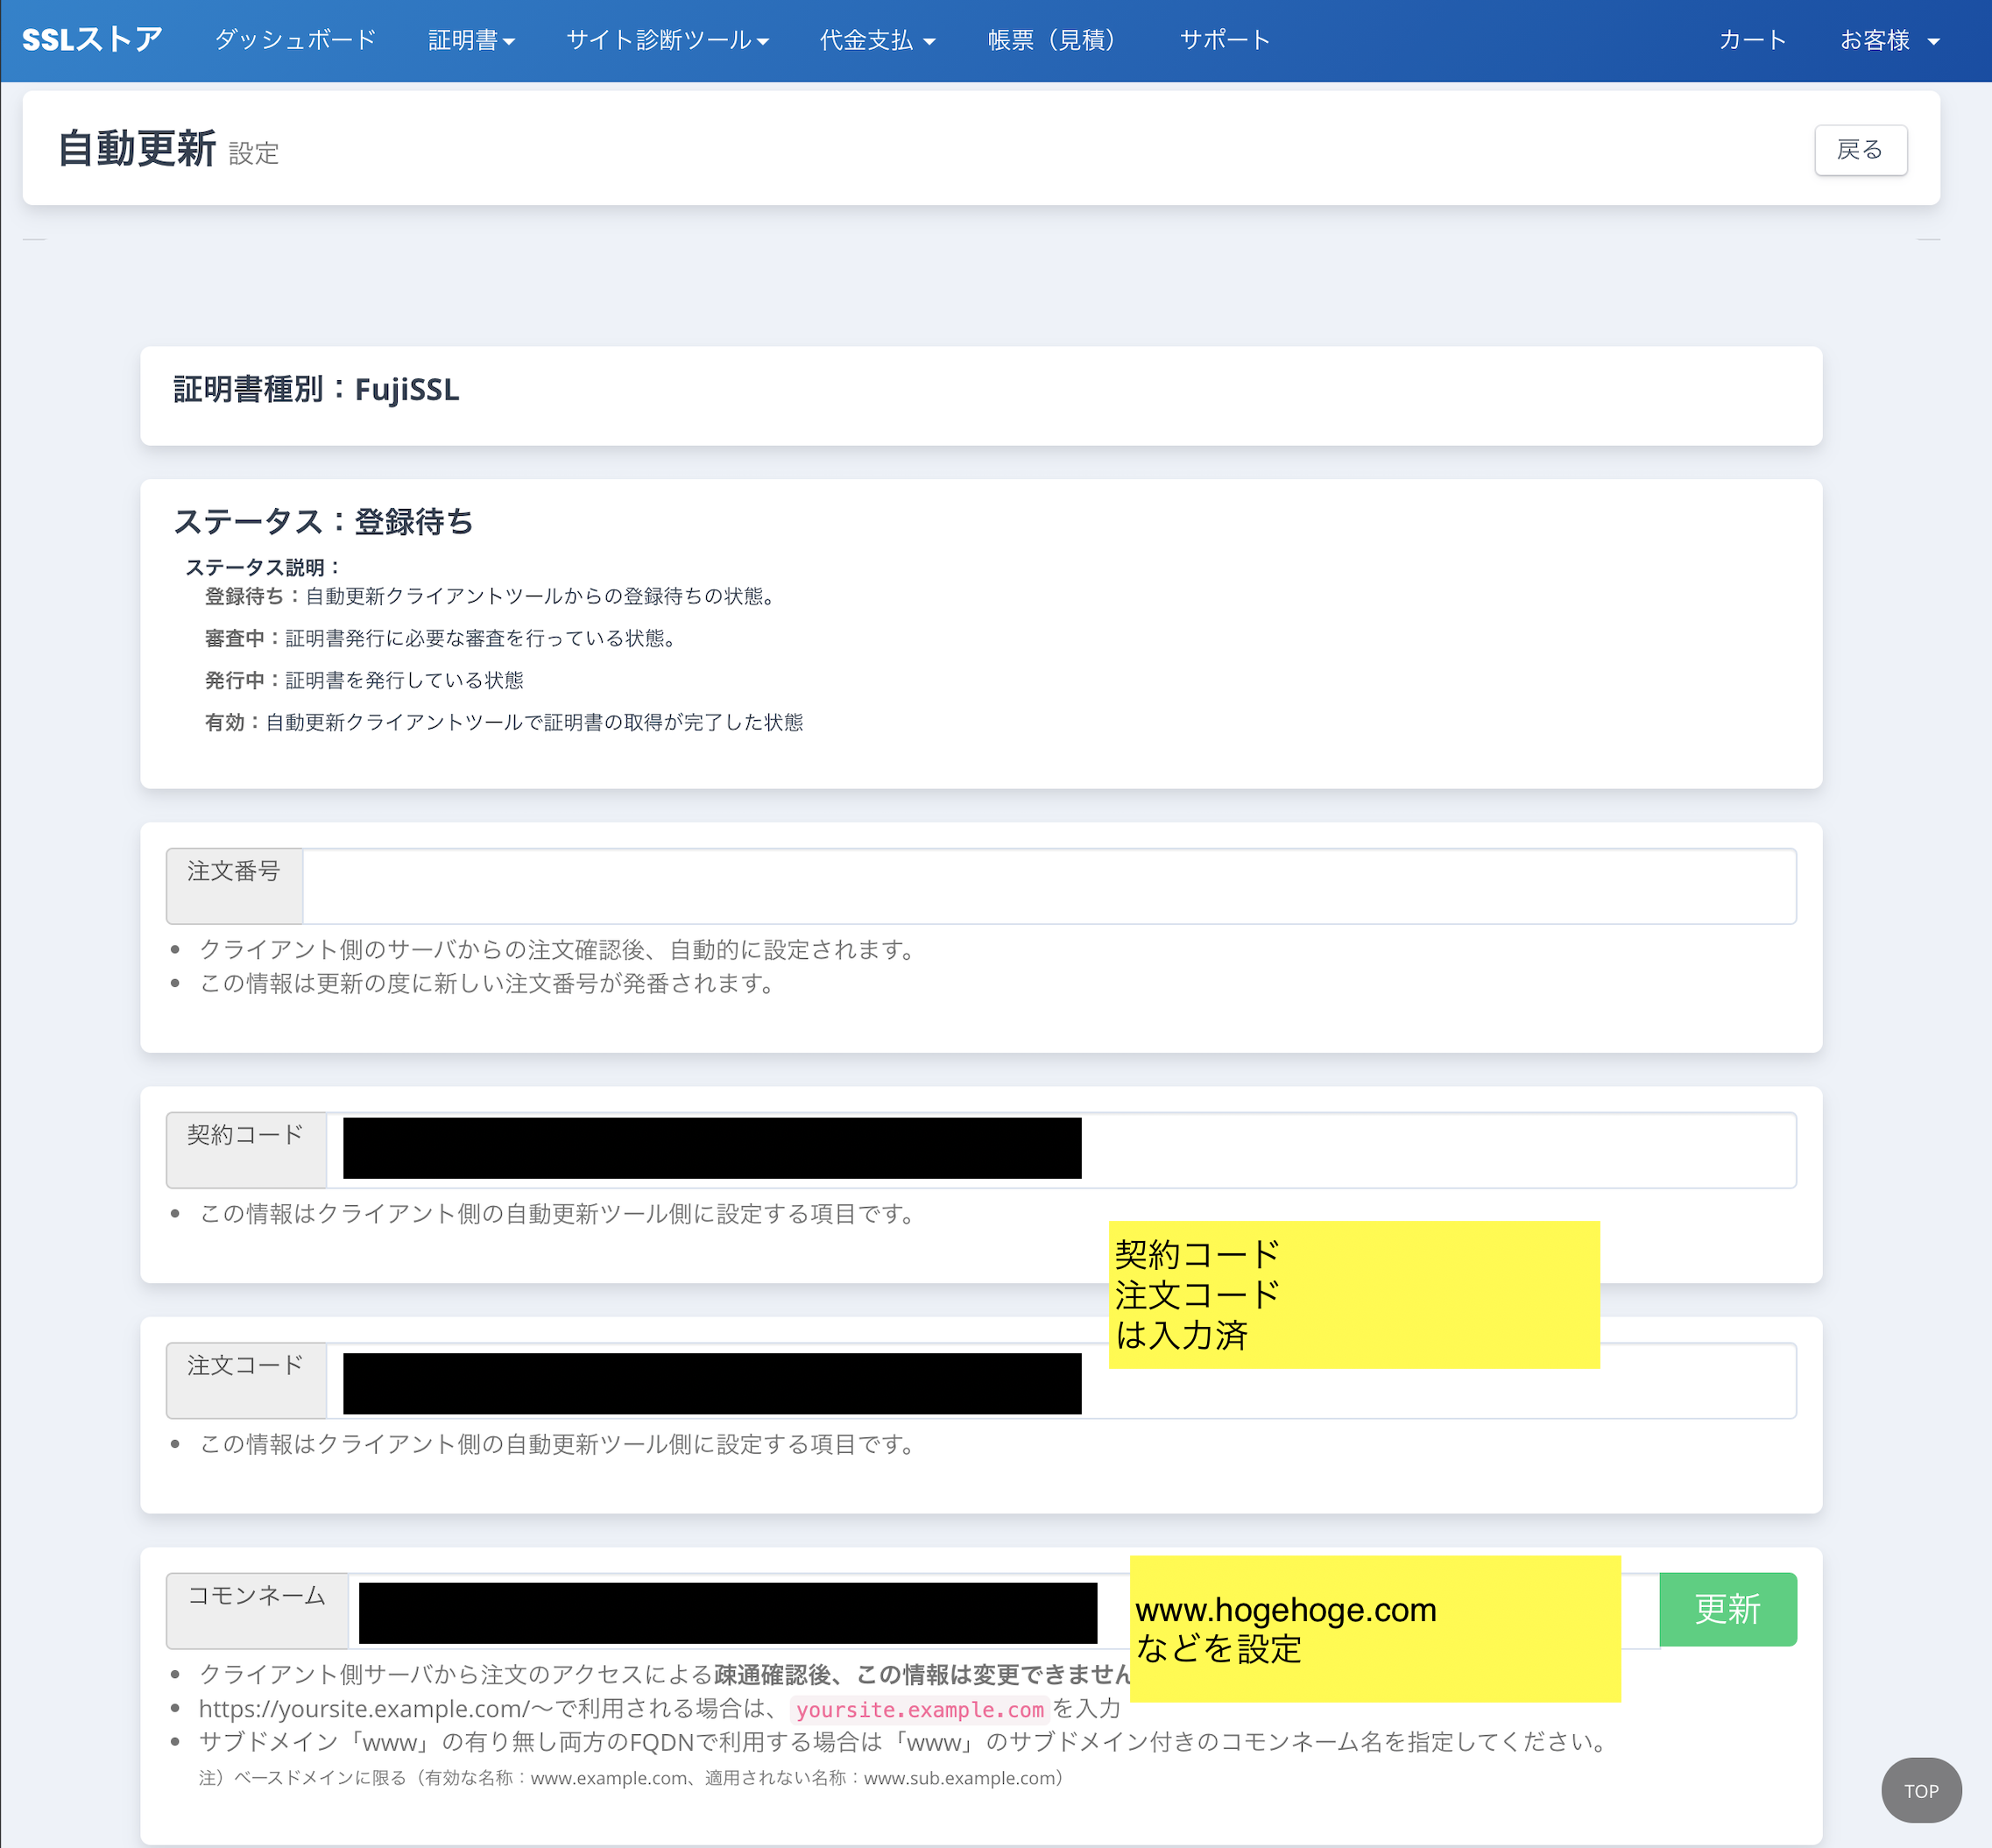
契約コードと注文コードを控えておく
FujiSSL GOクライアントの設定
手順確認
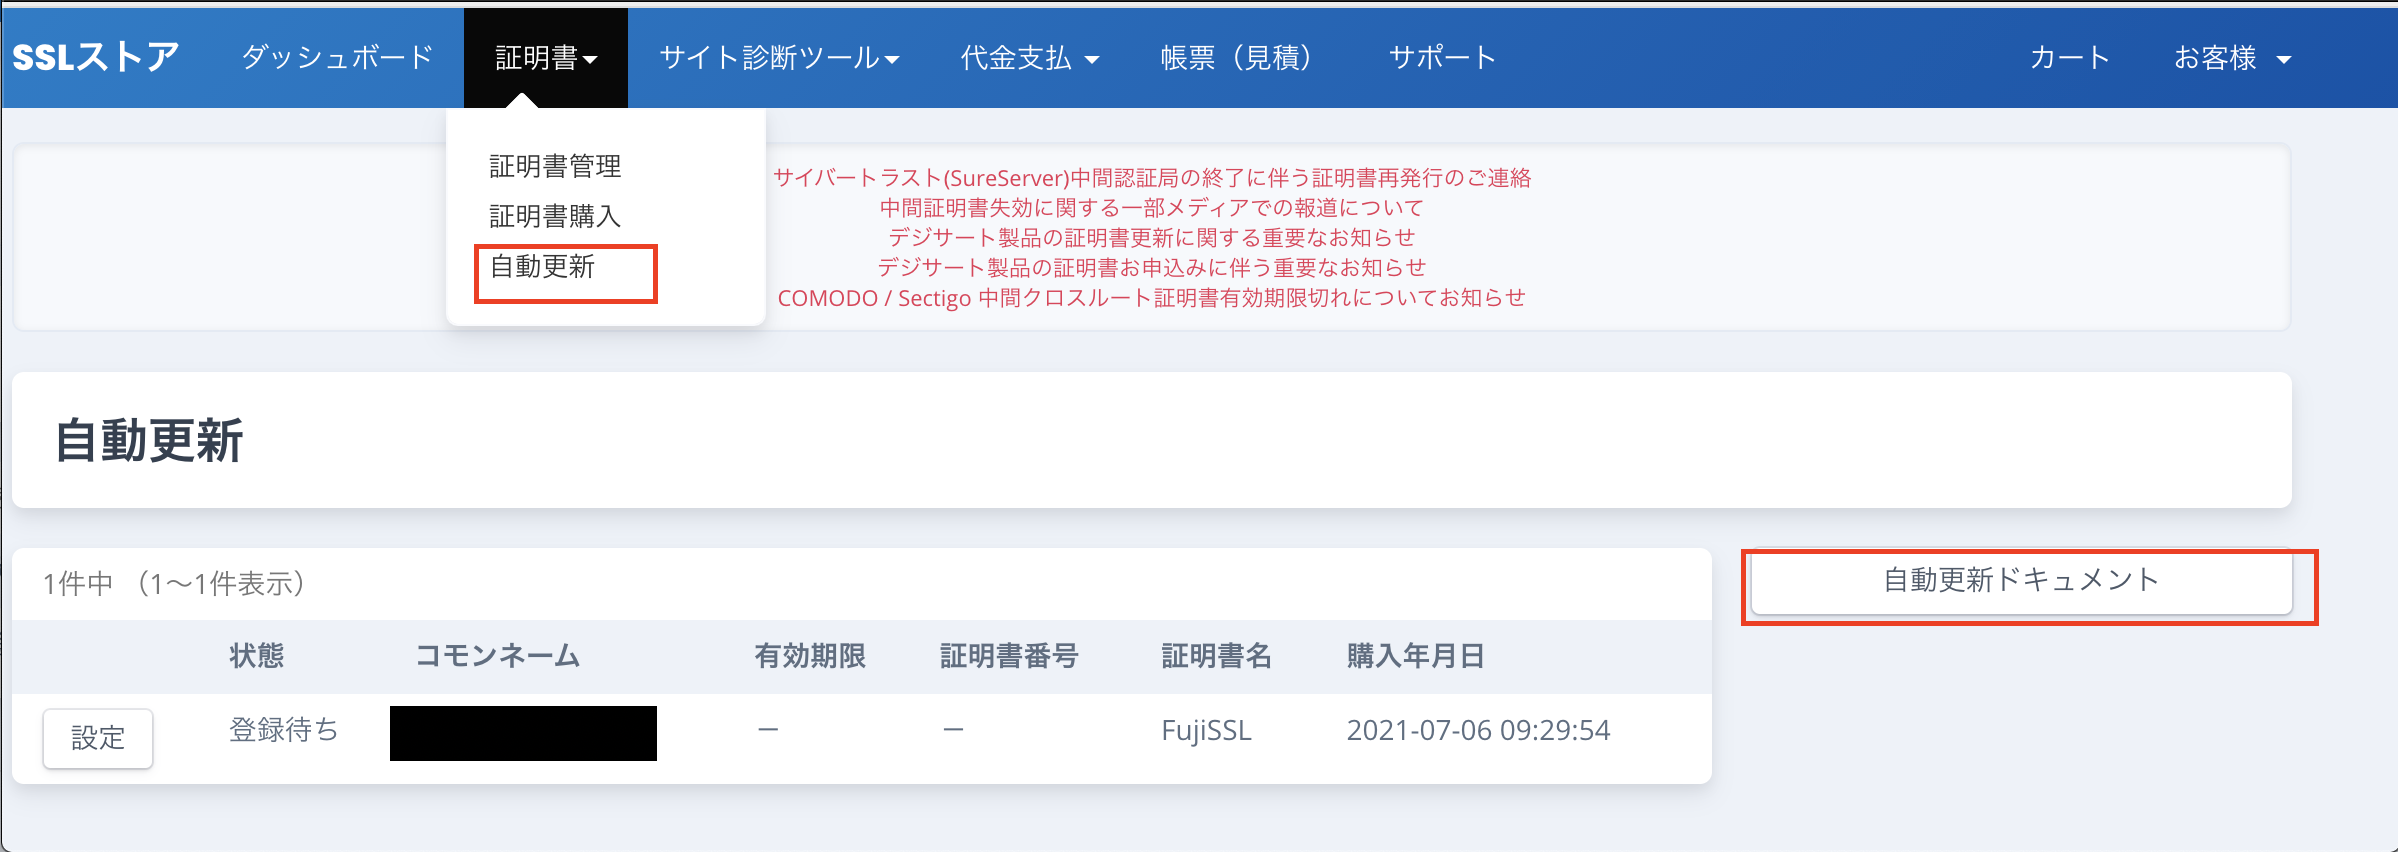
手順は「自動更新ドキュメント」から確認できる
秘密鍵作成
擬似乱数の情報を生成
$ sudo su
# cd /etc/pki/tls/private
# openssl md5 /var/log/* > rand.dat
140690790340496:error:0200B015:system library:fread:Is a directory:bss_file.c:255:
エラーがでるが問題ない
秘密鍵の作成
$ openssl genrsa -rand rand.dat -des3 2048 > ssl.pk
Enter pass phrase: ※パスフレーズを入力してエンター
Verifying - Enter pass phrase: ※パスフレーズを入力してエンター
2回同じパスフレーズを入力する
パスフレーズ解除をおこなう
apacheやnginxなどのwebサーバーを再起動するたびにパスフレーズを聞かれるので解除する
$ cp ssl.pk ssl.pk.org
$ openssl rsa -in ssl.pk -out ssl.pk
$ Enter pass phrase for ssl.pk: ※パスフレーズを入力してエンター
writing RSA key
証明書の配置ディレクトリを作成
mkdir -p /etc/httpd/conf/ssl.crt
SSL更新用のクライアントツールを配置
$ sudo su
# mkdir -p /var/fujissl/backup
# cd /var/fujissl/
# wget https://www.ssl-store.jp/system/files/sslstore-client-tool-0.0.1.zip
# unzip sslstore-client-tool-0.0.1.zip
# chmod -R 0644 sslstore-client-tool-0.0.1
# cd /var/fujissl/sslstore-client-tool-0.0.1
# php ./bin/sslstore-client create site_ssl
Created the /var/fujissl/sslstore-client-tool-0.0.1/.lock directory.
Created the /var/fujissl/sslstore-client-tool-0.0.1/.logs directory.
設定ファイルを作成しました。(/var/fujissl/sslstore-client-tool-0.0.1/conf/site_ssl.conf)
作成された設定ファイルを修正する
sudo vi /var/fujissl/sslstore-client-tool-0.0.1/conf/site_ssl.conf
config:
appid: APP-XXXXXXXXXXXXXXX ※SSLストアで確認
ordid: ORD-XXXXXXXXXXXXXXX ※SSLストアで確認
fqdn: www.hogehoge.com ※ドメインを設定
document_root: /var/www/html ※apacheのrootディレクトリを設定した
backup_dir: /var/fujissl/backup
private_key: /etc/pki/tls/private/ssl.pk
certificate: /etc/httpd/conf/ssl.crt/certificate.crt
ca_bundle: /etc/httpd/conf/ssl.crt/bundle.crt
証明書の登録
$ sudo su
$ cd /var/fujissl/sslstore-client-tool-0.0.1
$ php ./bin/sslstore-client regist -c www.hogehoge.com -f conf/site_ssl.conf
PHP Fatal error: (E2001) Can not access the authentication URL. '(http|https)://hogehoge.com/.well-known/pki-validation/fileauth.txt' in /var/fujissl/sslstore-client-tool-0.0.1/bin/sslstore-client on line 61
エラーがでた。
FujiSSLの制約で、wwwありとwwwなしの両方で存在確認ファイルにアクセスできなければならないとのこと。hogehoge.comのAレコードも作成して再度実行する
※Aレコード作成はお名前.comなどドメイン管理サイトで別途行った
$ sudo su
$ cd /var/fujissl/sslstore-client-tool-0.0.1
$ php ./bin/sslstore-client regist -c www.hogehoge.com -f conf/site_ssl.conf
Create /var/www/html/.well-known/pki-validation/fileauth.txt file.
Create /var/fujissl/backup/ssl.pk file.
The certificate registed was successful.
Register the following command in cron:
/usr/bin/php /var/fujissl/sslstore-client-tool-0.0.1/bin/sslstore-client autorenew -c www.hogehoge.com -f conf/site_ssl.conf
更新処理のクーロンを設定
$ sudo su
$ crontab -e
20 4 * * * php /var/fujissl/sslstore-client-tool-0.0.1/bin/sslstore-client autorenew -c www.re-value.site -f /var/fujissl/sslstore-client-tool-0.0.1/conf/site_ssl.conf > /dev/null 2>&1 && service httpd restart
毎日4時20分に実行するよう設定した
ステータス確認
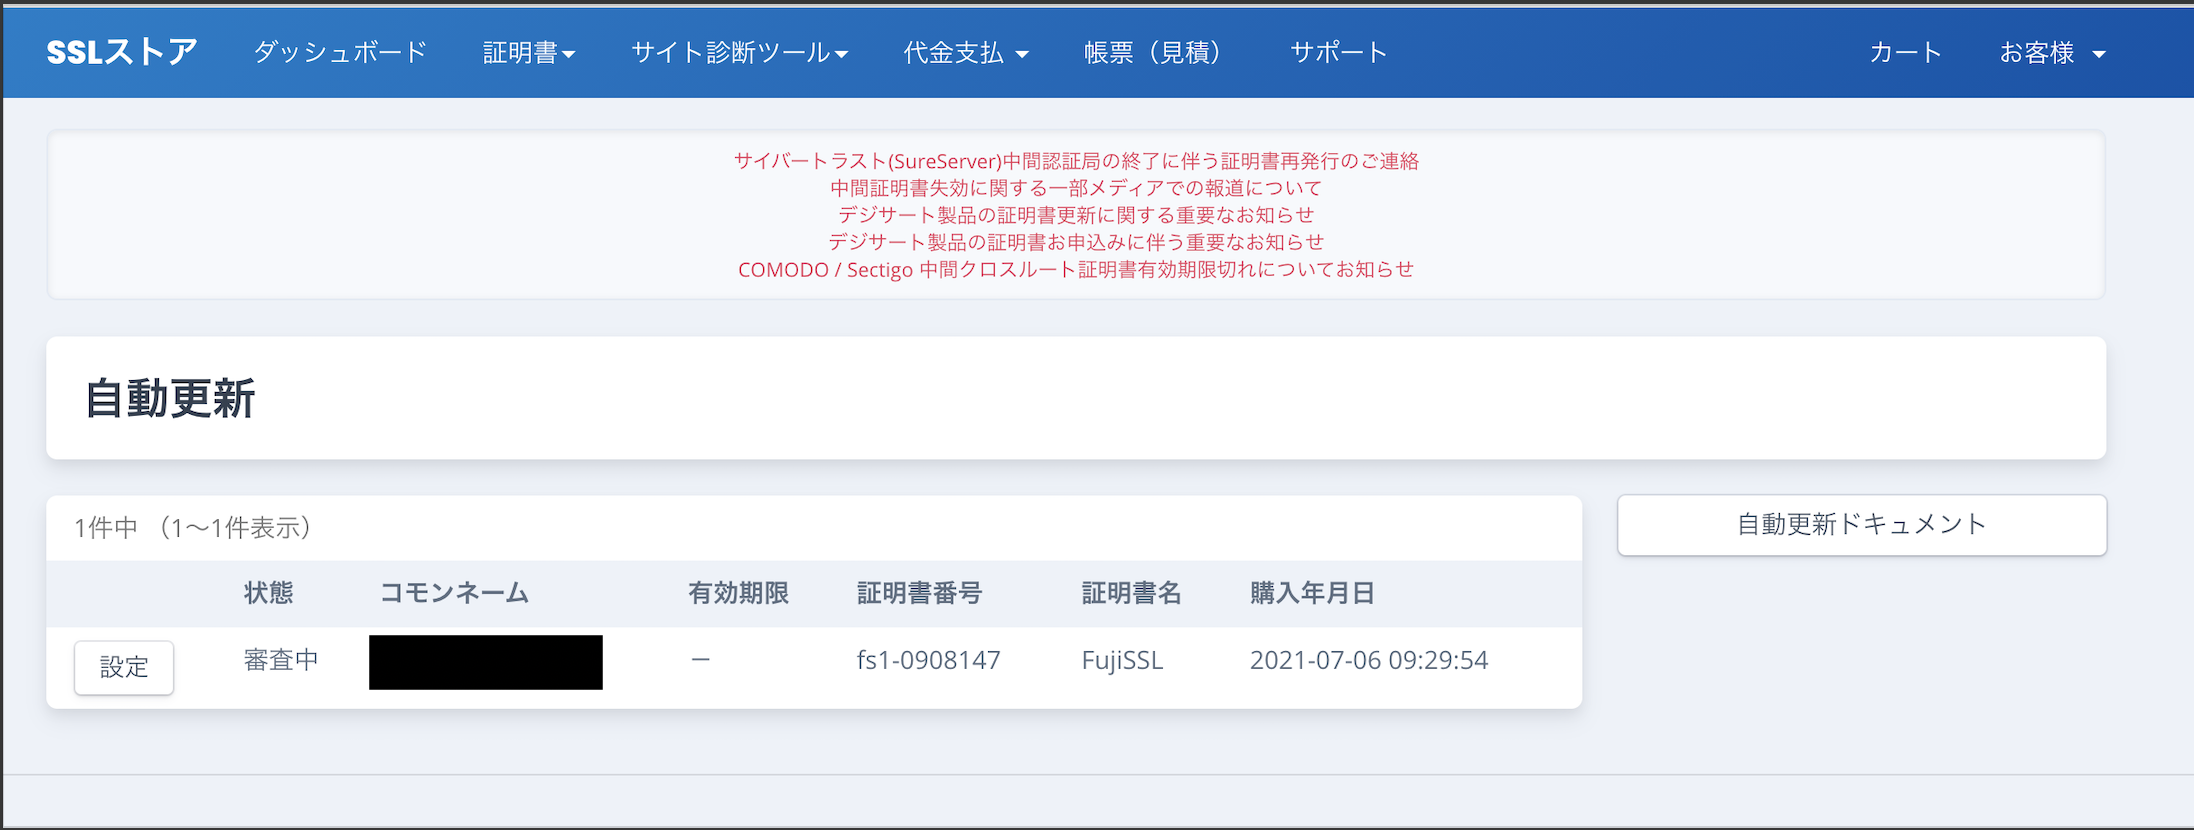
ステータスが審査中に変わった
SSLインストールの確認
4〜5時間経過すると、
/var/fujissl/sslstore-client-tool-0.0.1/conf/site_ssl.conf
に設定した場所にそれぞれ
certificate: /etc/httpd/conf/ssl.crt/certificate.crt SSL証明書
ca_bundle: /etc/httpd/conf/ssl.crt/bundle.crt 中間証明書
が配置されていました
後はApatcheやNginxなどのwebサーバーの設定を行えば、導入が完了!